Create CI/CD Pipeline of a web-app using Github, Jenkins, AWS and Docker.

Dedicated and hardworking undergraduate student pursuing a degree in Information Technology with a passion for learning, leadership experience, and real-world skills through internships and part-time jobs in IT sector. Actively looking for new Opportunities and committed to do personal and professional growth.

This Blog helps you to create the CI/CD Pipeline of Web-Application named "Todo-List" to your Github Repository and Jenkins and also a Docker Image.
Steps to Create the Pipeline :
\>>> 1. Run the code on local computer
Check the code is properly run on local system. take care of not any error in the code
-> copy the source code from Github to your local system,For that type below command -
git clone https://github.com/shreys7/django-todo.git
-> for running the app on local you need to Create Virtual Environment. For that type below commands -
virtualenv -p python3.9 env
#After that run below command
source env/bin/activate
-> Change the Directory and go to your project folder's location
cd django-todo/
-> ex. my project is based on Django Framework Project so i install Django in the System
for that type below command :
pip install django
-> to initialize and run the code on localhost
Run the Below commands one by one :
python manage.py makemigrations

python manage.py migrate

python manage.py createsuperuser

python manage.py runserver
-> By Performing All Commands you will get a deployment server which is the localhost server and some IP is assigned to it copy that IP and run on your local browser.
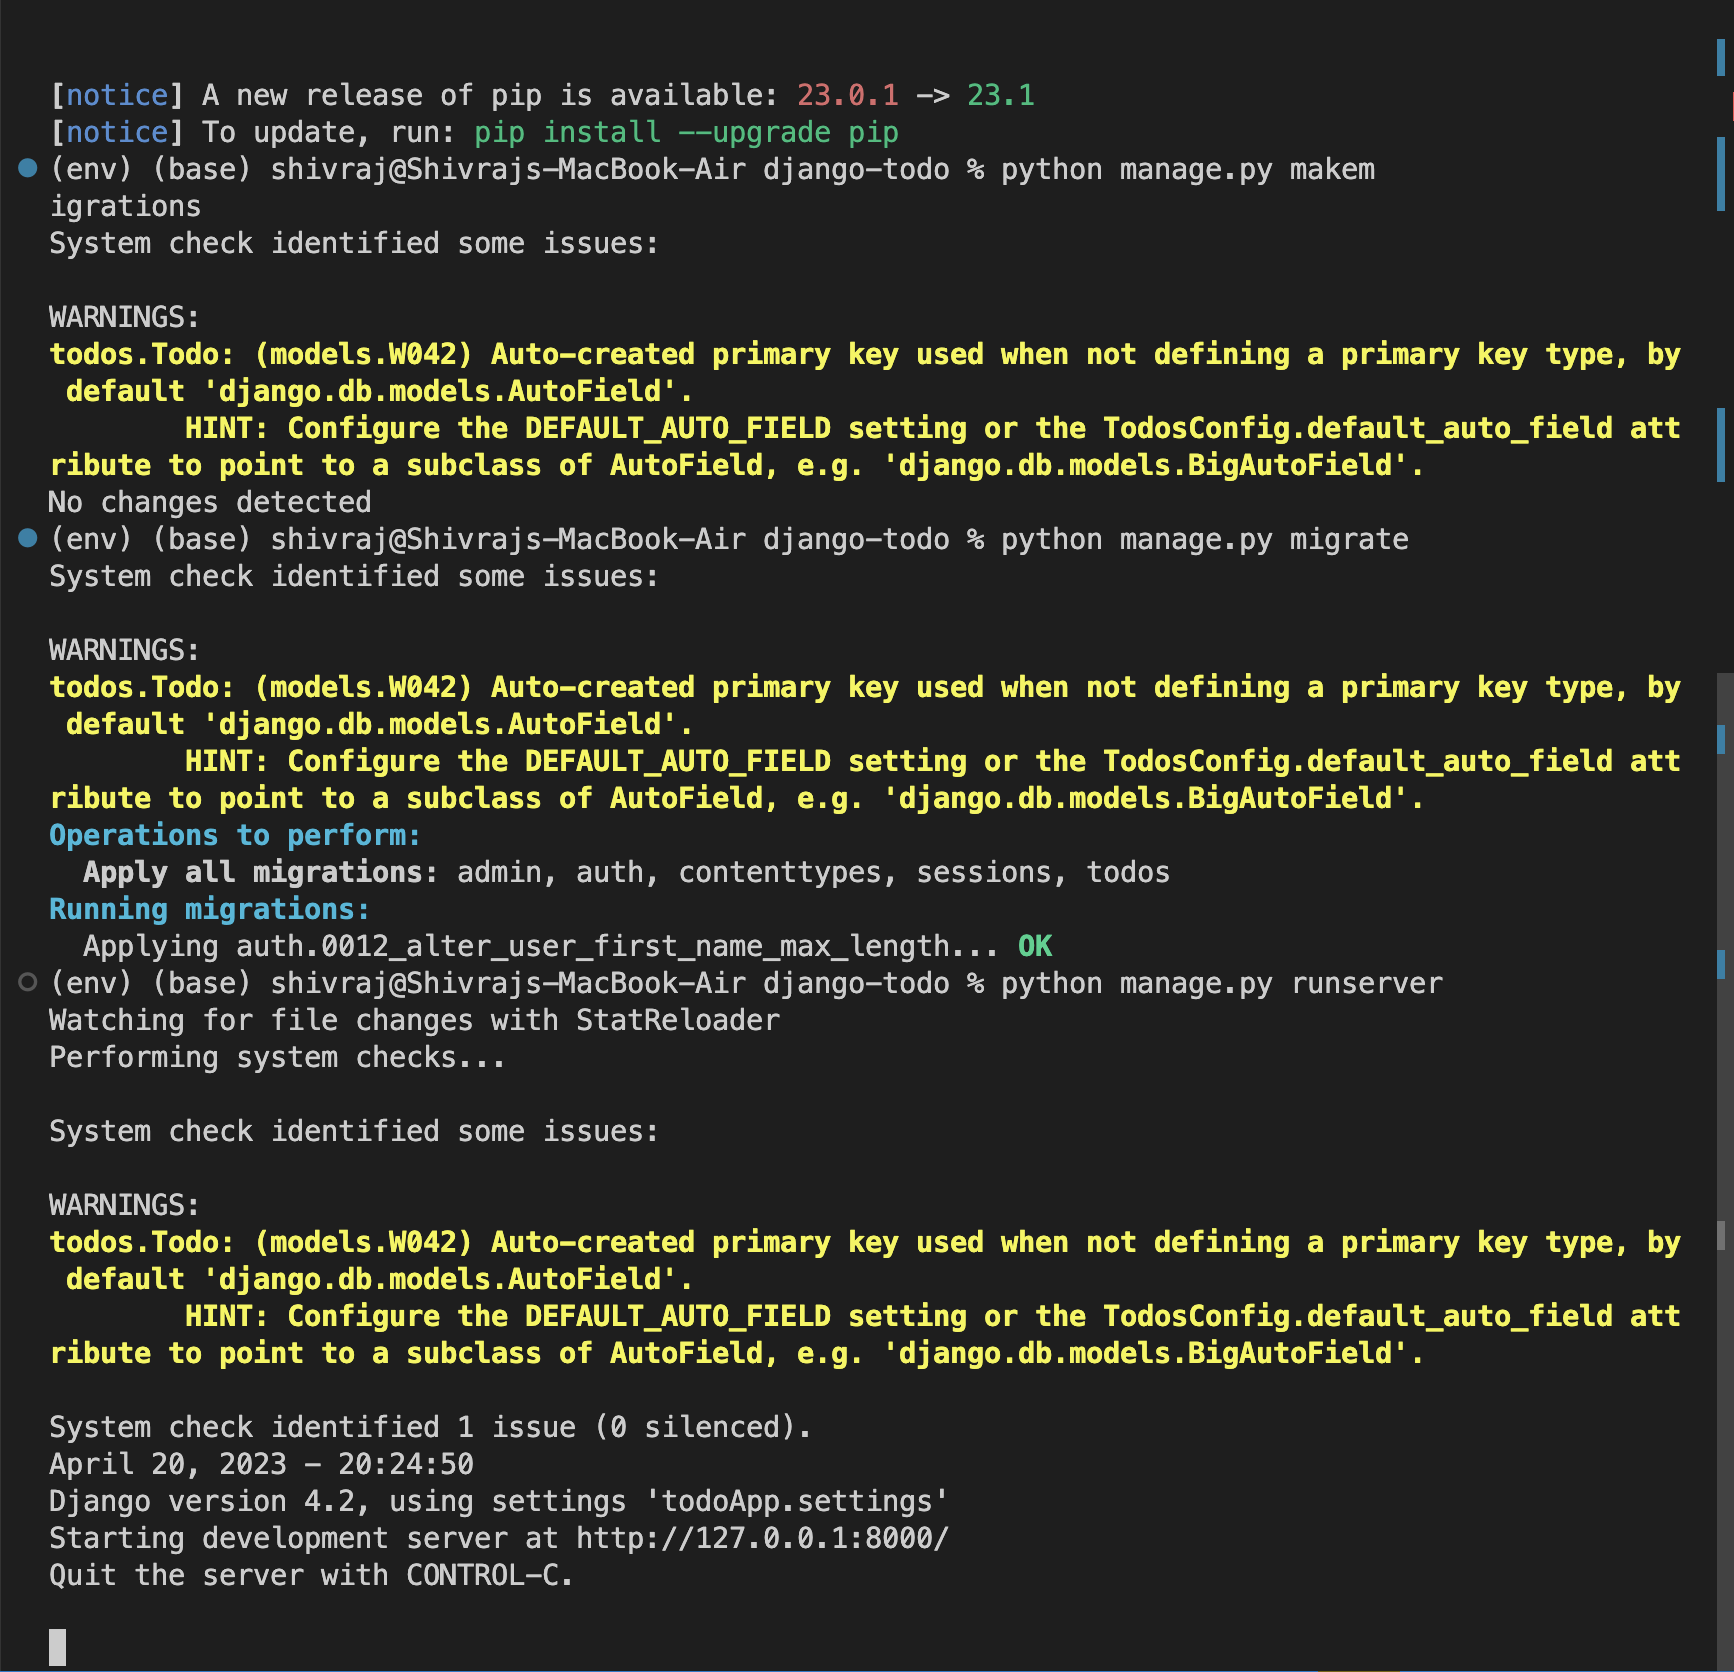
-> by running the IP on local browser it successfully run on the local server.

-> If All are Ok then Your Code is well managed and runs properly then follow further steps.
\>>> 2. Run the project on AWS EC2 Instance
-> Go to AWS website and login your account , then create the instance and connect the instance
-> start that instance and copy the ssh client key and run that key for connecting aws instance from terminal
sudo (your ssh key)
-> make the project directory
mkdir projects
cd projects
-> Follow Below Commands for installation :
sudo apt-get update

sudo apt install python3-pip

pip3 install django
-> Before typing python3 manage.py migrate you need to specify the time zone
For that go with the further commands :
ls
vi todoApp/settings.py
Search for "TIME_ZONE" and Make the Time Zone = "Asia/Dhaka"
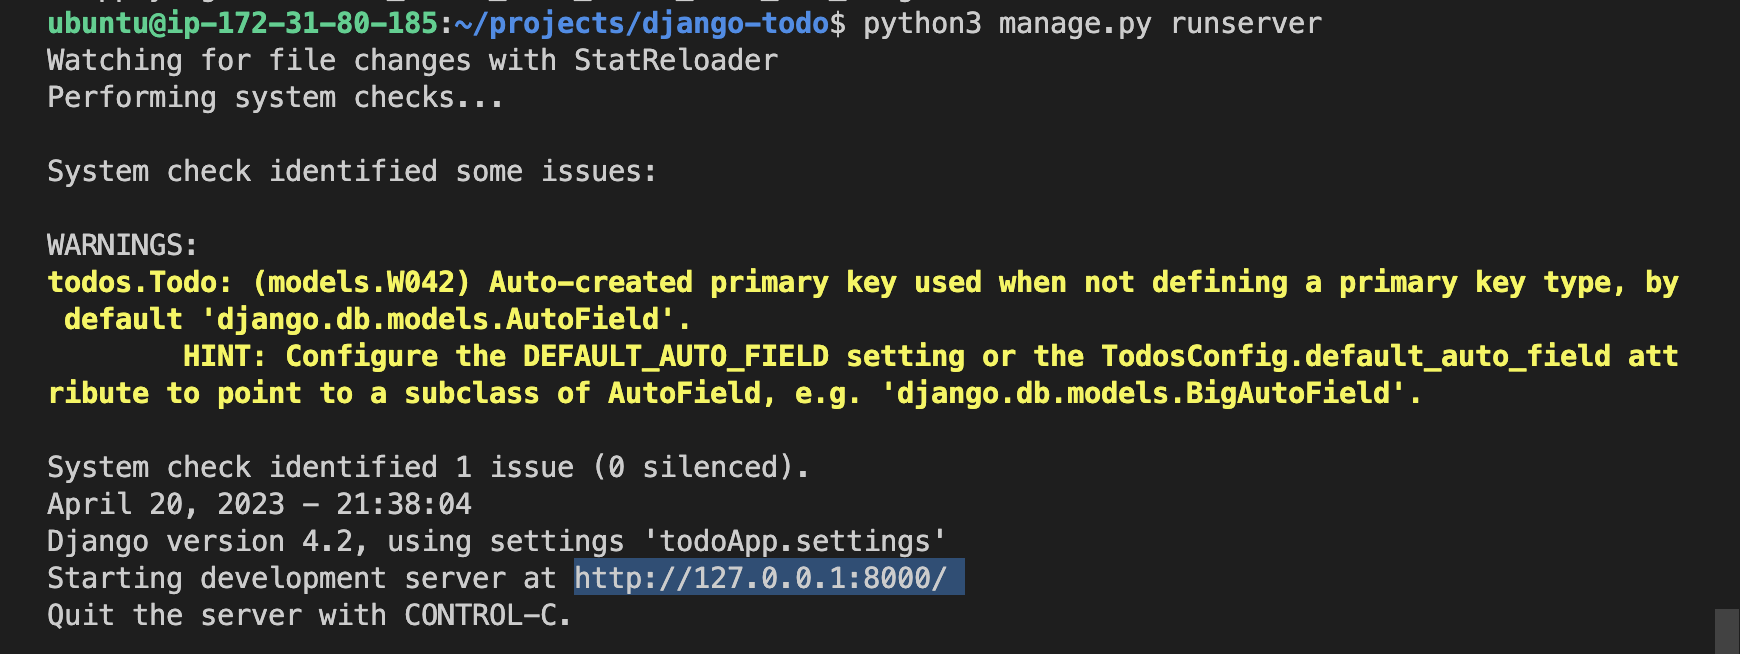
python3 manage.py migrate

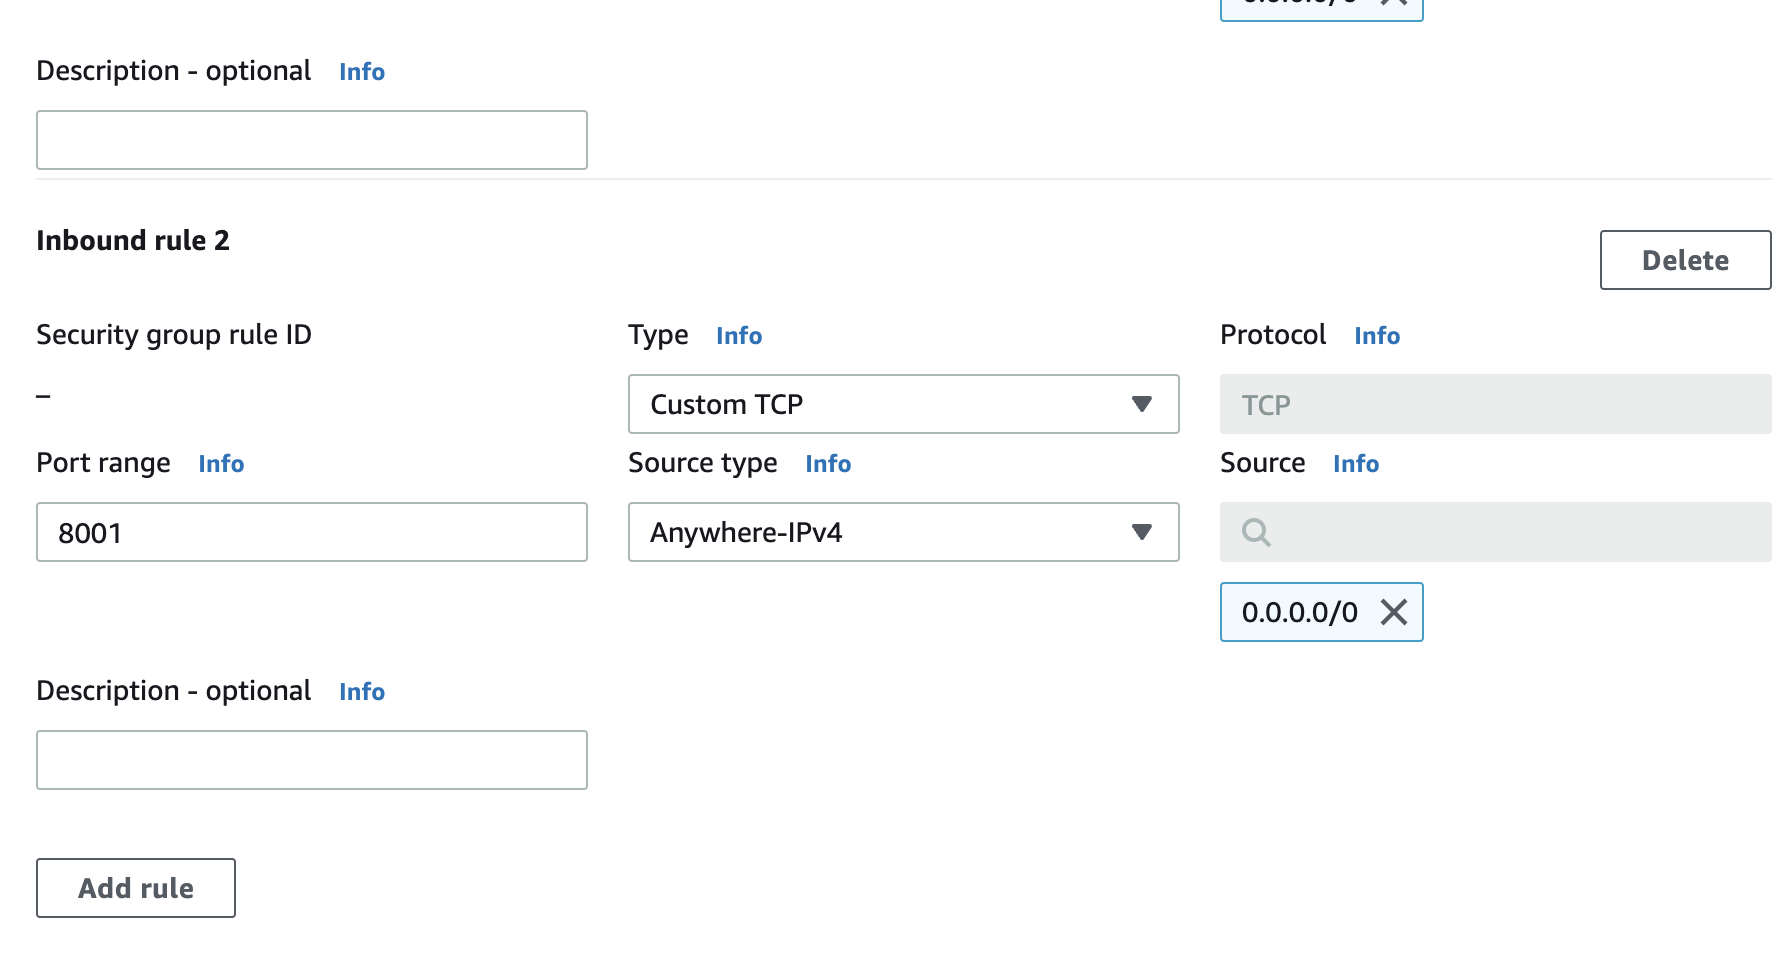
-> After the Go to Instances running -- instance id -- security -- security groups -- inbound rules and perform to add the rule given below

-> You will get this type of error to tackle that error you need to do further things
Go to "vi todoApp/settings.py" and Select "ALLOWED_HOST"
vi todoApp/settings.py

make ALLOWED_HOST = '*'
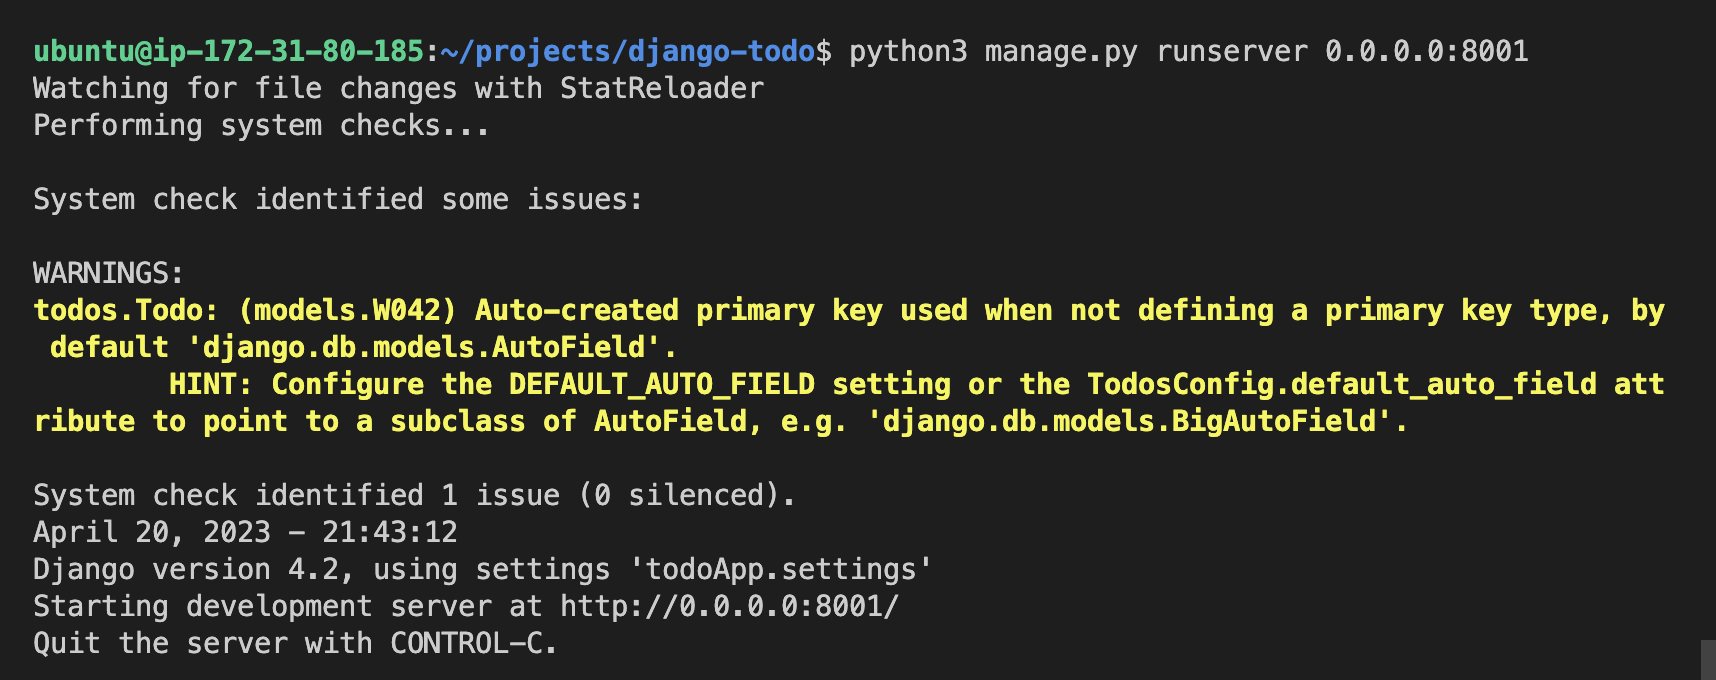
-> By performing above commands you will get the app running on AWS EC2 Instance.

-> For background running Use nohup: ignoring input and appending output to 'nohup.out'
Use below command :
nohup python3 manage.py runserver 0.0.0.0:8001&
-> For kill the running application follow below commands.
lsof -i:8001

kill -9 your_id (which is given by above command)
\>>> 3. Create Docker Image And Containerize the Application
-> First of all Install Docker
sudo apt install docker.io
-> Make new Docker file named "Dockerfile"
vi Dockerfile
write below commands inside that "Dockerfile" to automate the commands.

-> For building docker image follow below command :
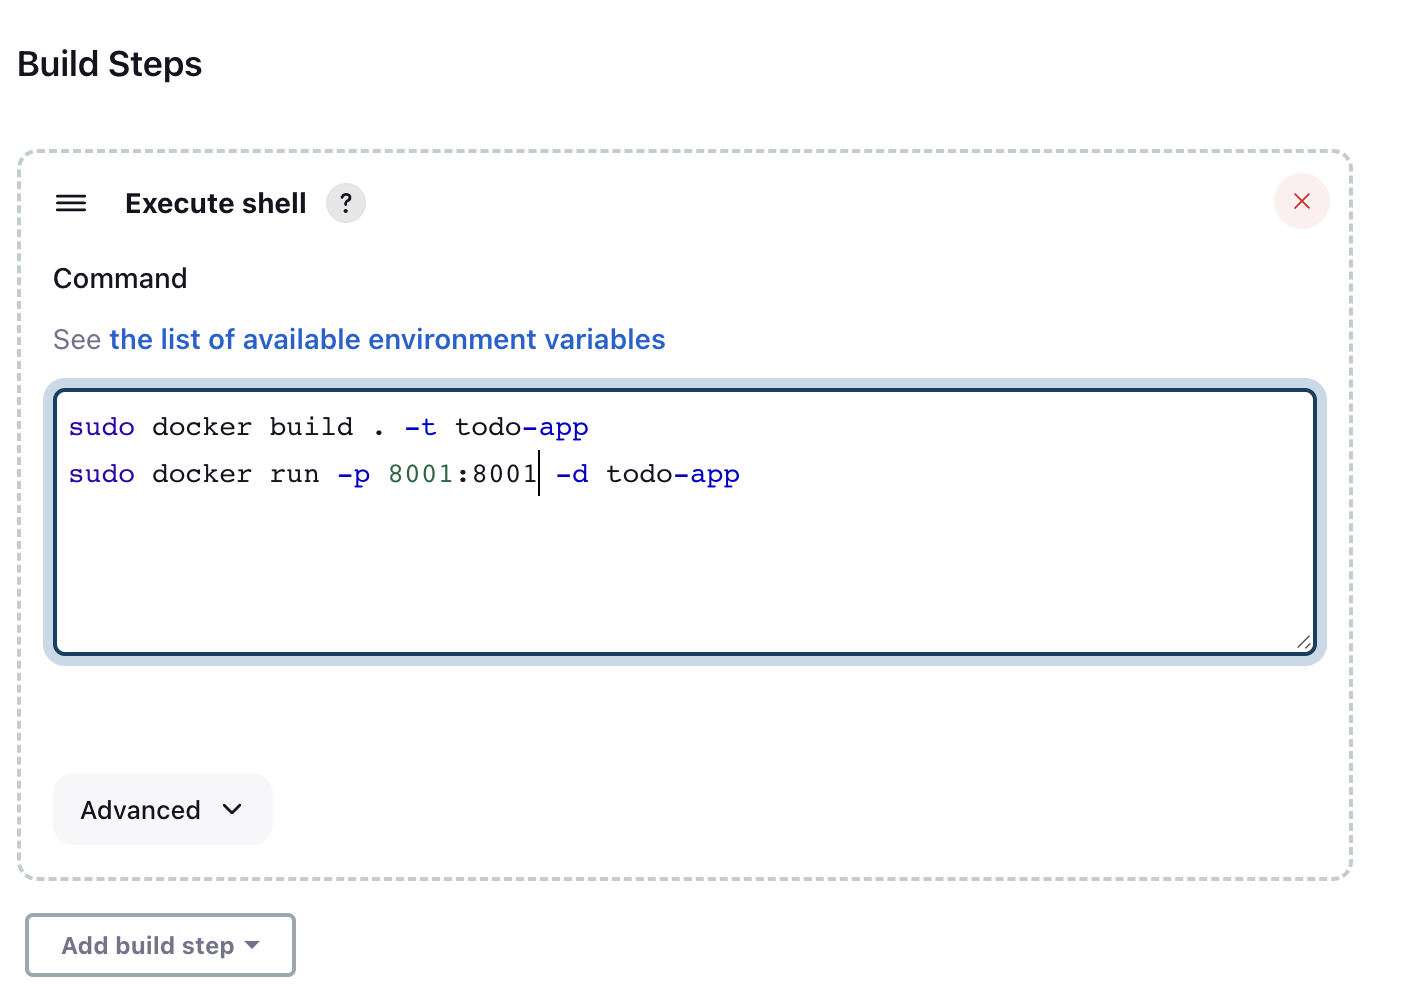
sudo docker build . -t todo-app


-> To check the docker status use below command :
sudo docker ps
-> to run the docker image which is created before type below command:
sudo docker run (your_docker_image_id)
-> to run the docker image id on the browser follow below command and after that copy your public IPv4 address on AWS and paste it on any browser with port that you assigned to run the app.
sudo docker run -p 8001:8001 (your_docker_image_id)


-> For background runnig docker image use -d (deamon mode) and follow below command :
sudo docker run -d -p 8001:8001 (your_docker_image_id)
\>>> 4. Install Jenkins for Creating CI/CD Pipeline
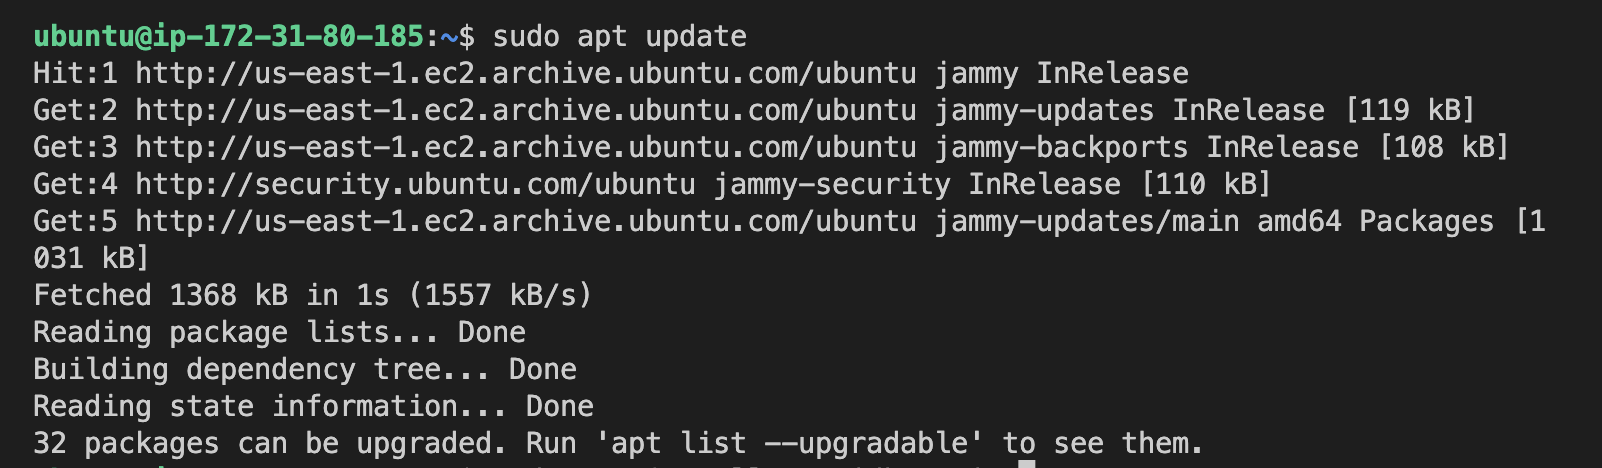
-> Update your system
sudo apt update
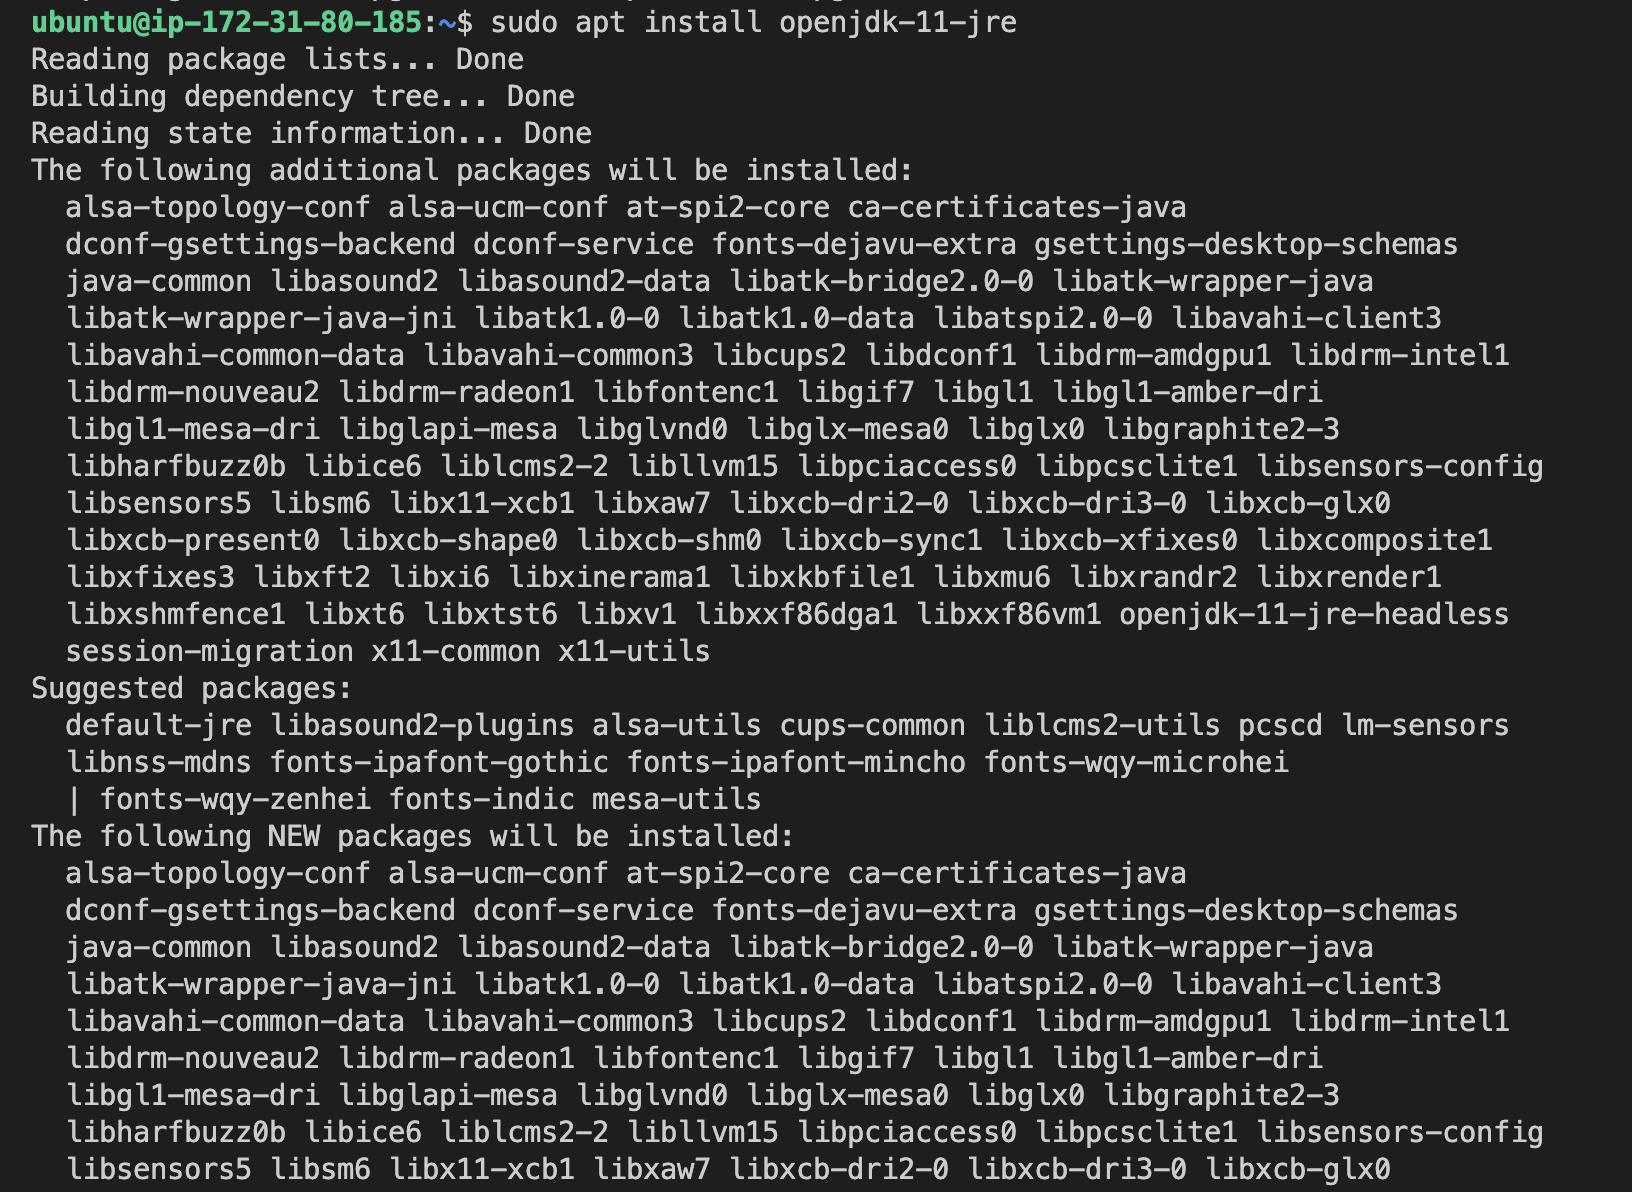
-> Install java
sudo apt install openjdk-11-jre

-> Check Java is Installed or Not by using below command :
java --version
-> Now Install Jenkins
-- Just Copy and Paste the below commands one by one into your terminal :
curl -fsSL https://pkg.jenkins.io/debian-stable/jenkins.io-2023.key | sudo tee \
  /usr/share/keyrings/jenkins-keyring.asc > /dev/null
echo deb [signed-by=/usr/share/keyrings/jenkins-keyring.asc] \
  https://pkg.jenkins.io/debian-stable binary/ | sudo tee \
  /etc/apt/sources.list.d/jenkins.list > /dev/null
sudo apt-get update
sudo apt-get install jenkins
\>>> 5. Now we need to start the Jenkins
-> For that follow below commands one by one :
sudo systemctl enable jenkins

sudo systemctl start jenkins

sudo systemctl status jenkins


-> We need to add some inbound rules on AWS EC2 for running the Jenkins status

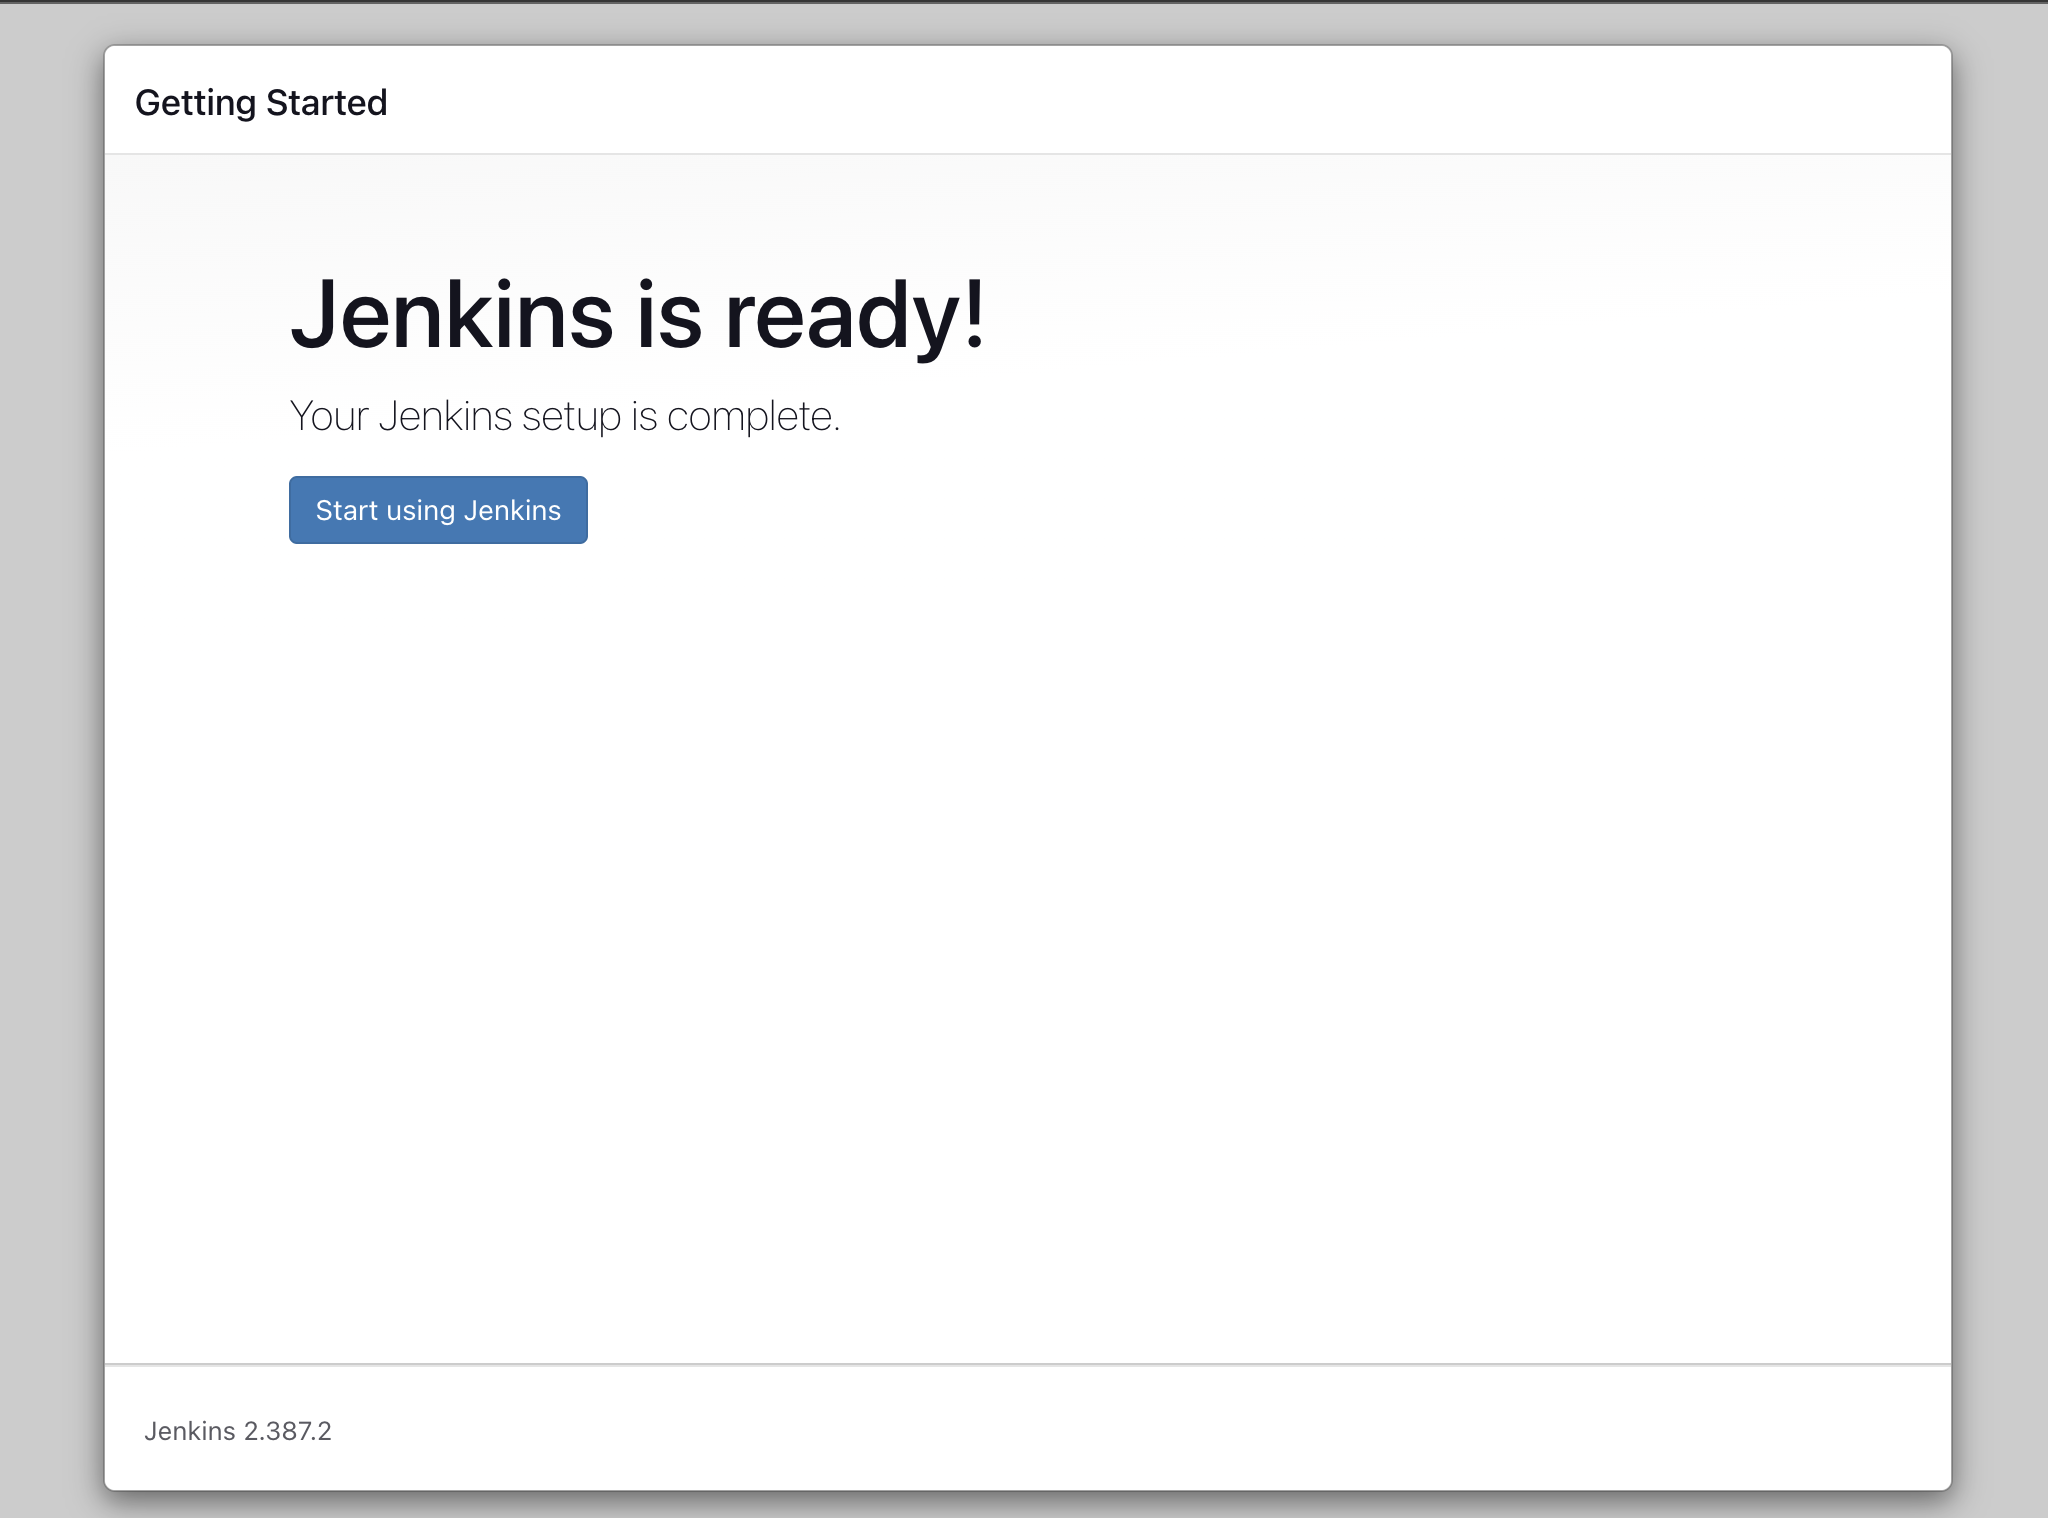
-> Access Jenkins through browser by using your AWS EC2 Public IP and Port 8080. after accessing this you see the below image displayed on your screen
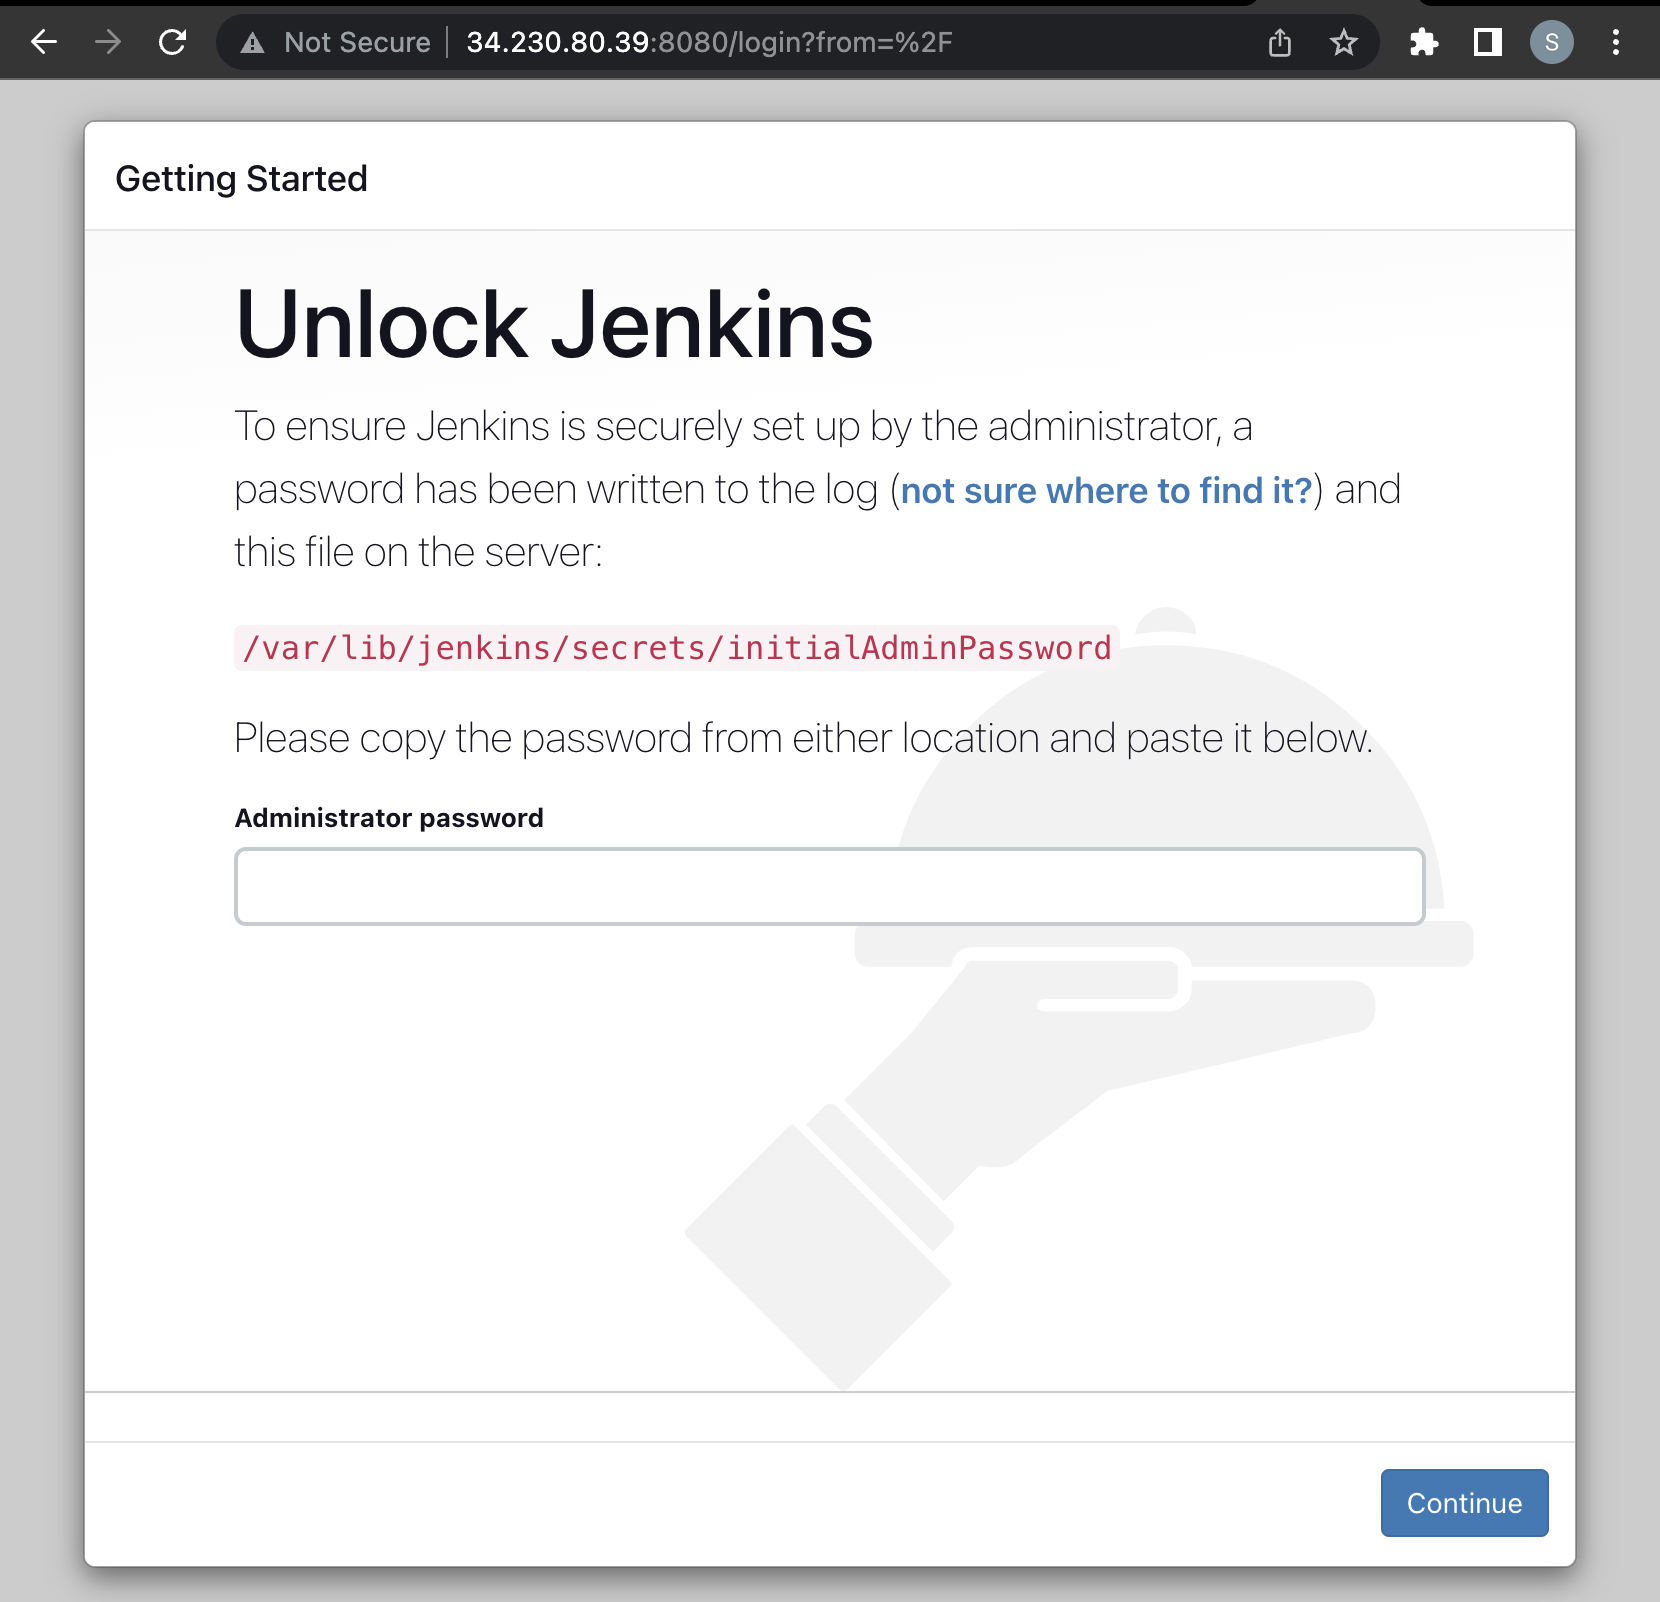
-> for see your jenkins password just copy the path which is in red colour in above image and paste it to terminal as :
sudo cat /var/lib/jenkins/secrets/initialAdminPassword
it will show your password, save it and use while login.
see your password and save it to further use that password.
-> Click on install suggested plugins
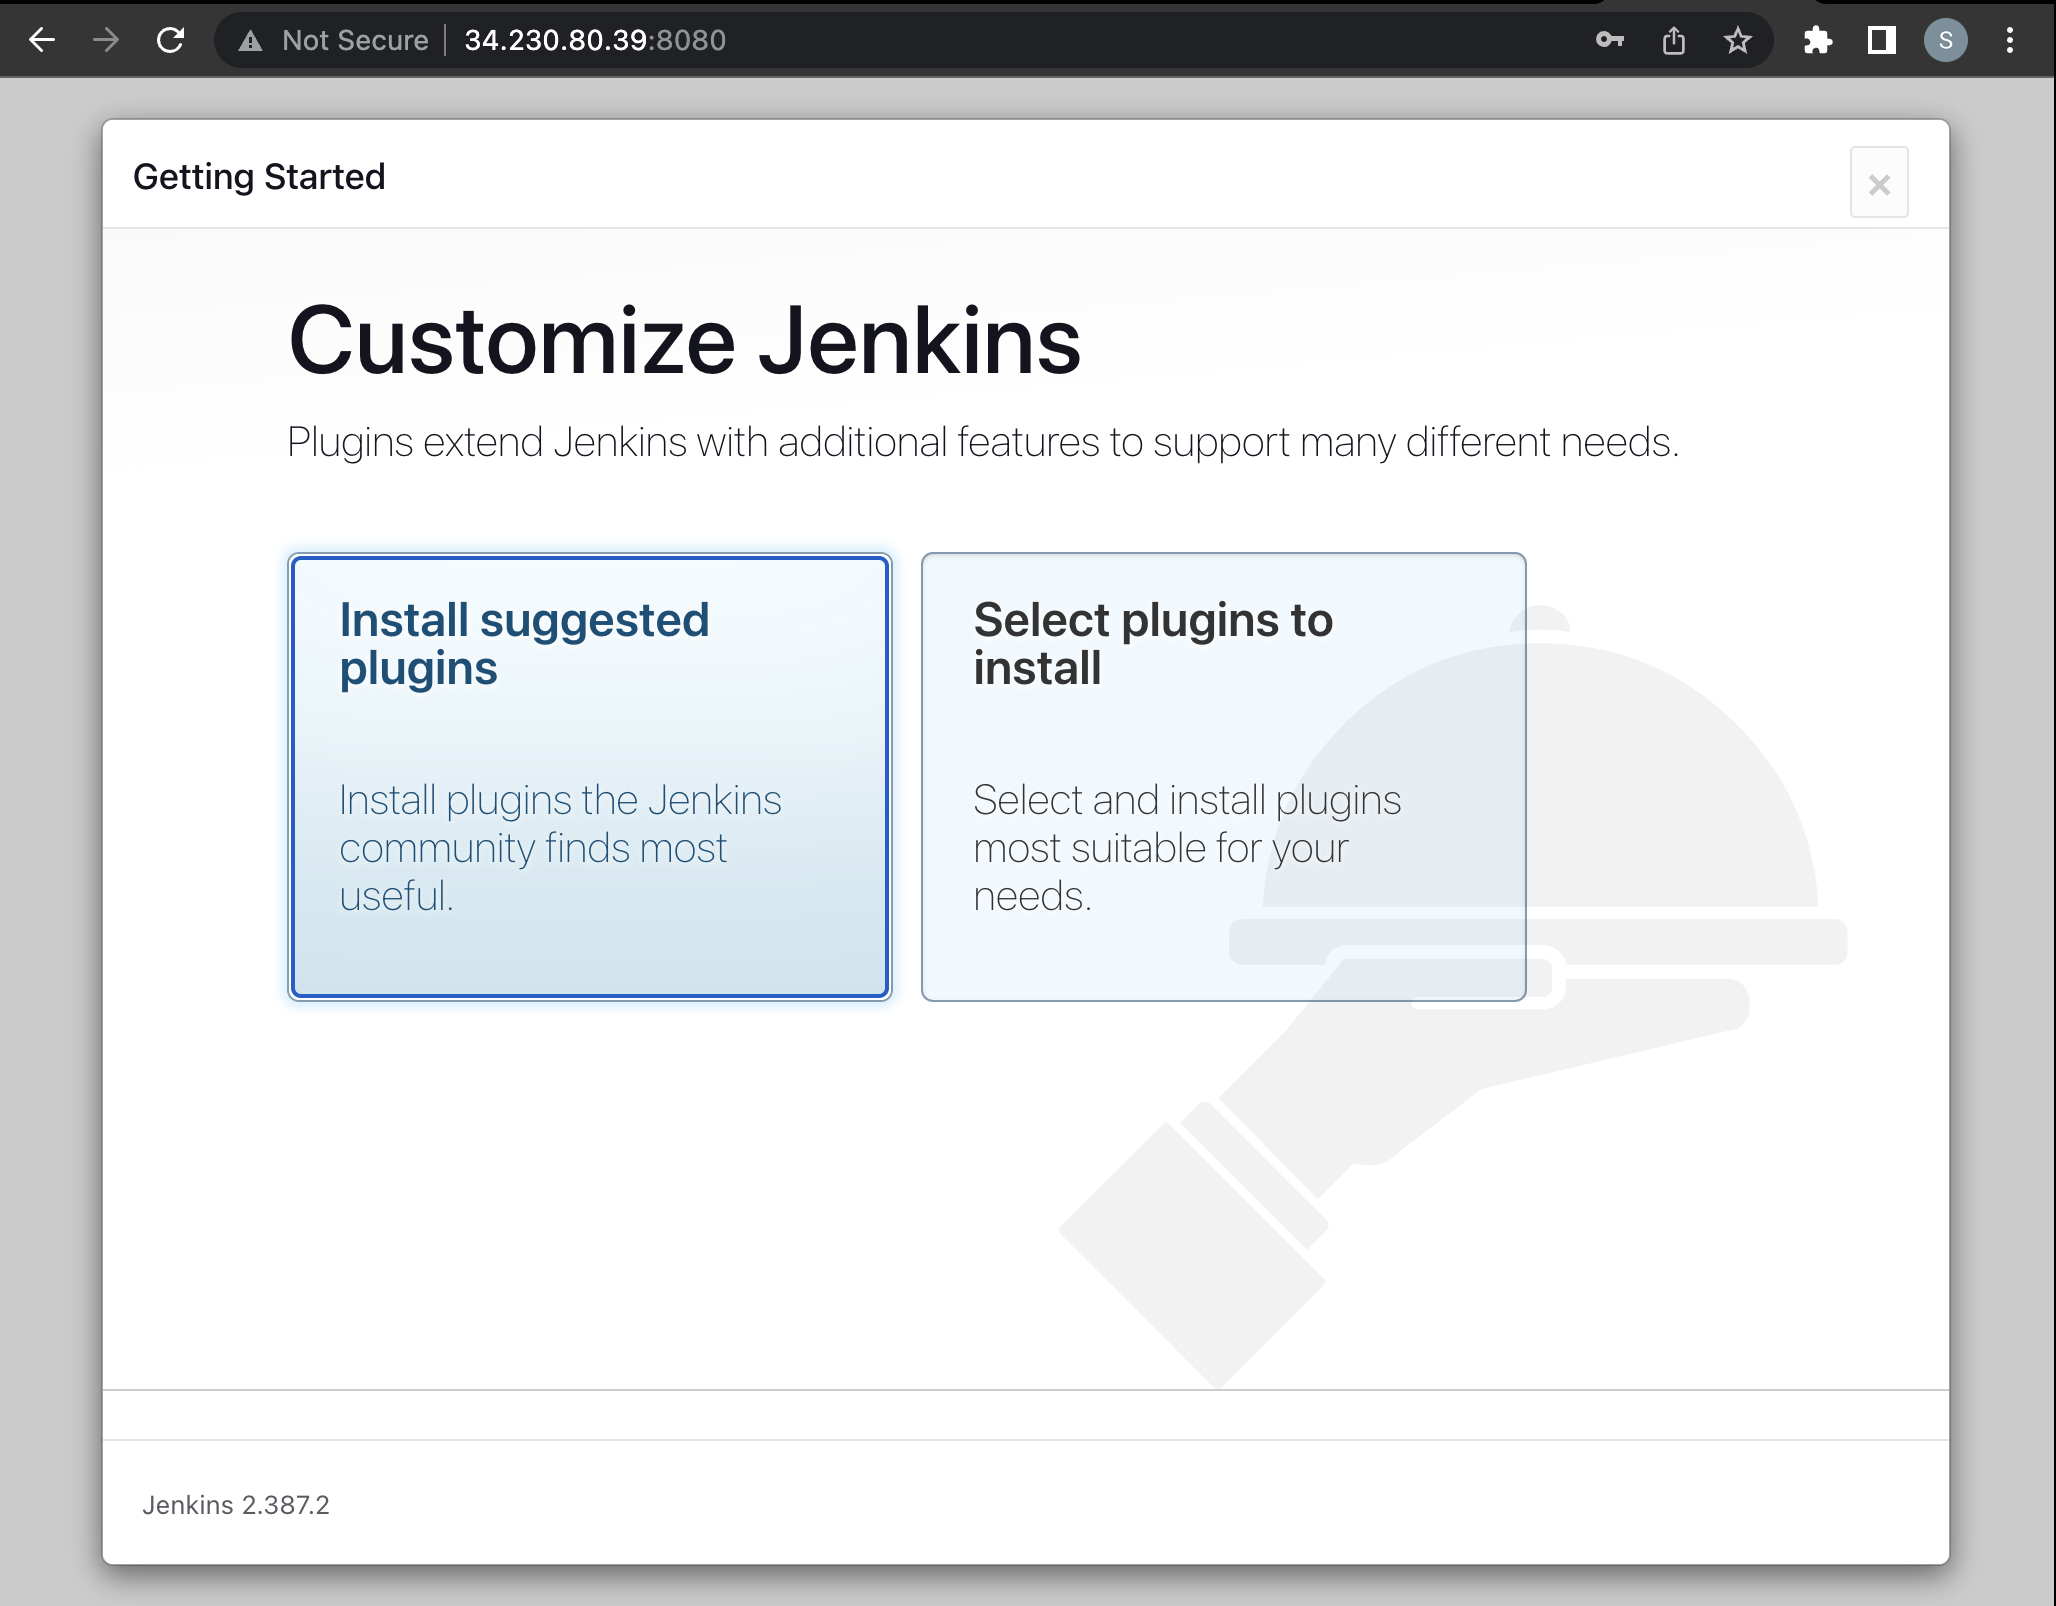
-> After selecting this , it ask for username , password , etc
after completing all above steps your Jenkins Setup is finally completed.
once complete you will the below screen image on your browser.
\>>> 6. Start to Making the CI/CD Pipeline
-> We are using Github to connect integration between github and jenkins
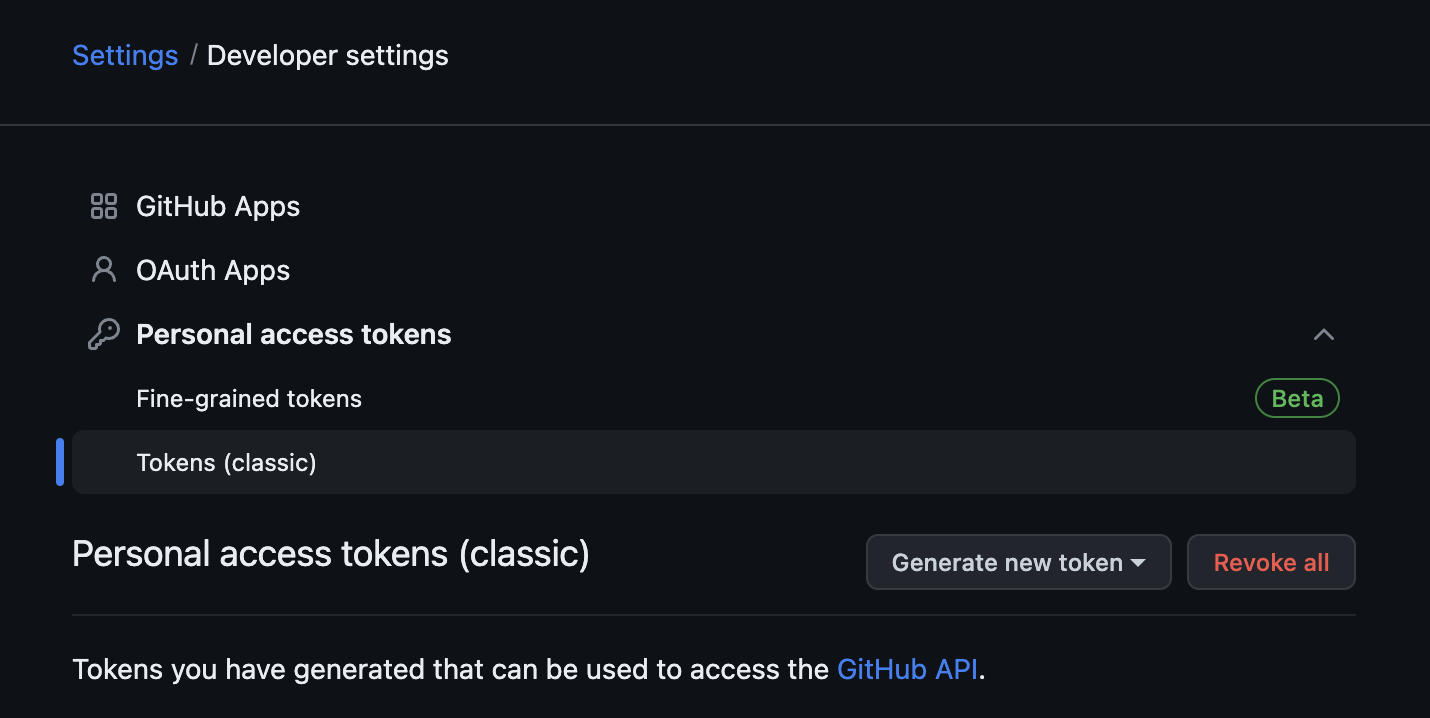
For that, we need the " Personal Access Token " for connecting to the Github repository.
-> Create new repository for the project

-> change the repository remote location point which points to anothers repository.

-> push the code to our newly created project repository
For that follow below commands :
git remote -v

git remote set-url origin (your github repo url)
This will made changes in the remote repository (changes to my repository).

-> by Adding files present in develop branch

-> Commit that changes by using below command :
git commit -m "Added Success"

-> push the project to the newly created project repository.
by using below commands:
git push origin develop

-> Successfully push the code on github by using "develop" branch

\>>> 7. Making Jenkins and Github Integration

-> For Integration with Github we need the Git Plugins Available in the Jenkins.
-> For that go to Manage Jenkins -- Manage Plugins -- Search for Git_client.
-> if present then nothing to do , but if not then install that plugins.
-> if plugin are present then it shows in the option "Available Plugin".
-> Make Personal Access Token for Jenkins Also
For that use below steps :
-- Go to Manage Jenkins -- Configure System -- scroll down and search for Github
Follow below steps for Github Option :

-- One thing remember in Credential you need to specify the file type for that select "Secret text "and "Add Changes".

-> After test the Connection , Jenkins specifies Github Account Name as see in below image.

Save the changes and move to the Next steps .
\>>> 8. Finally Making CI/CD Pipeline
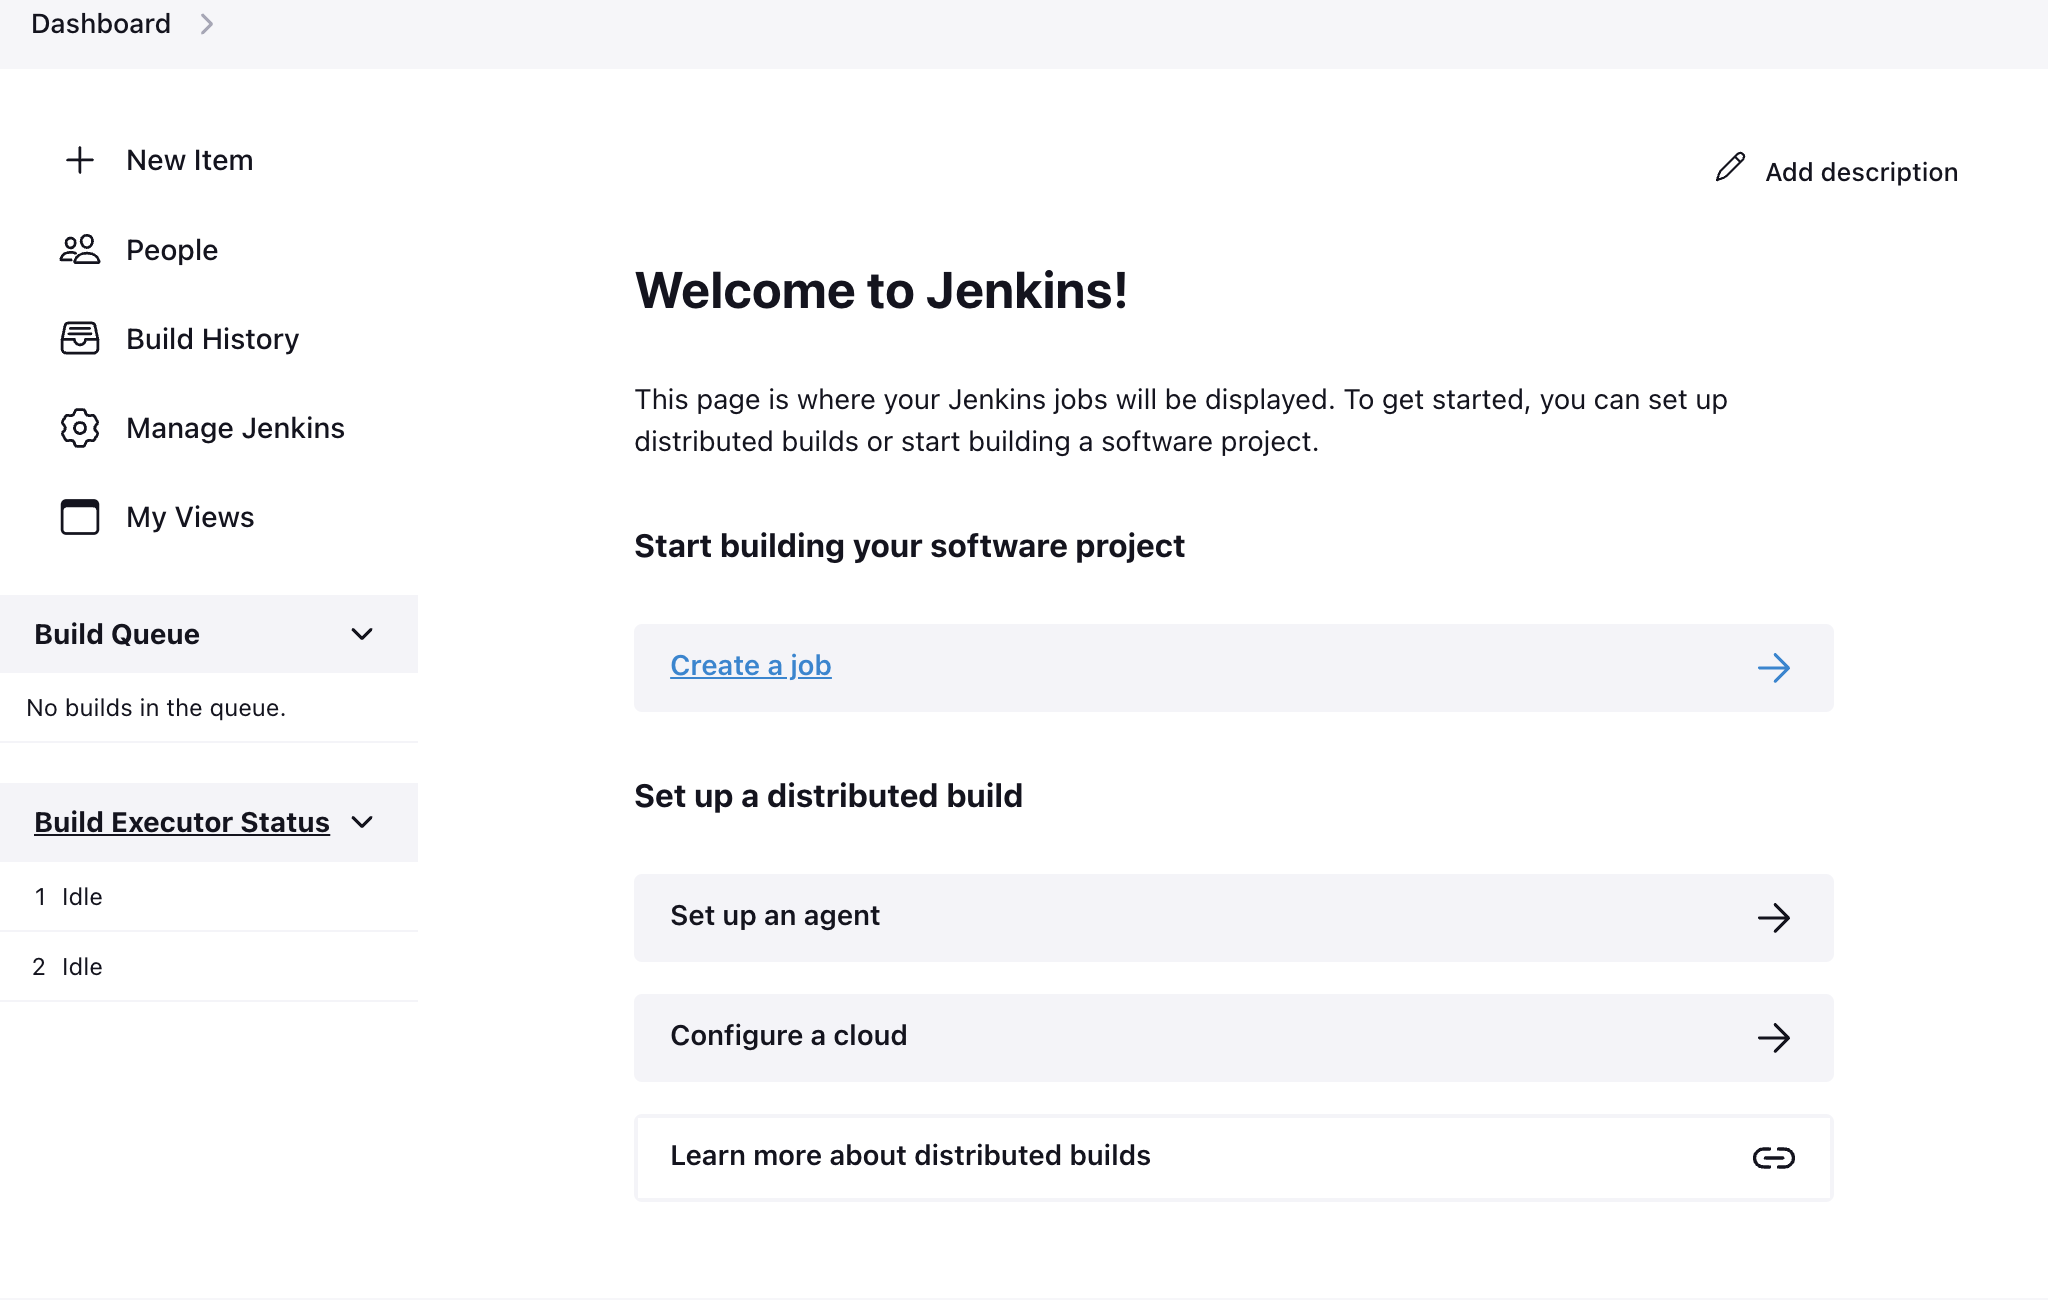
-> Create a Job for for creating the pipeline

-> Select in source code management -- Git

Copy the repository URL from your Github and Paste it in the "Repository URL".
-> Scroll down and Select branch to build -- "develop"

-> Next to Select Build-step and add the steps
-> Now we need to start the button of " Build Now " , Once you started the Build Now you will get to notification whether the job is run without error in the job.
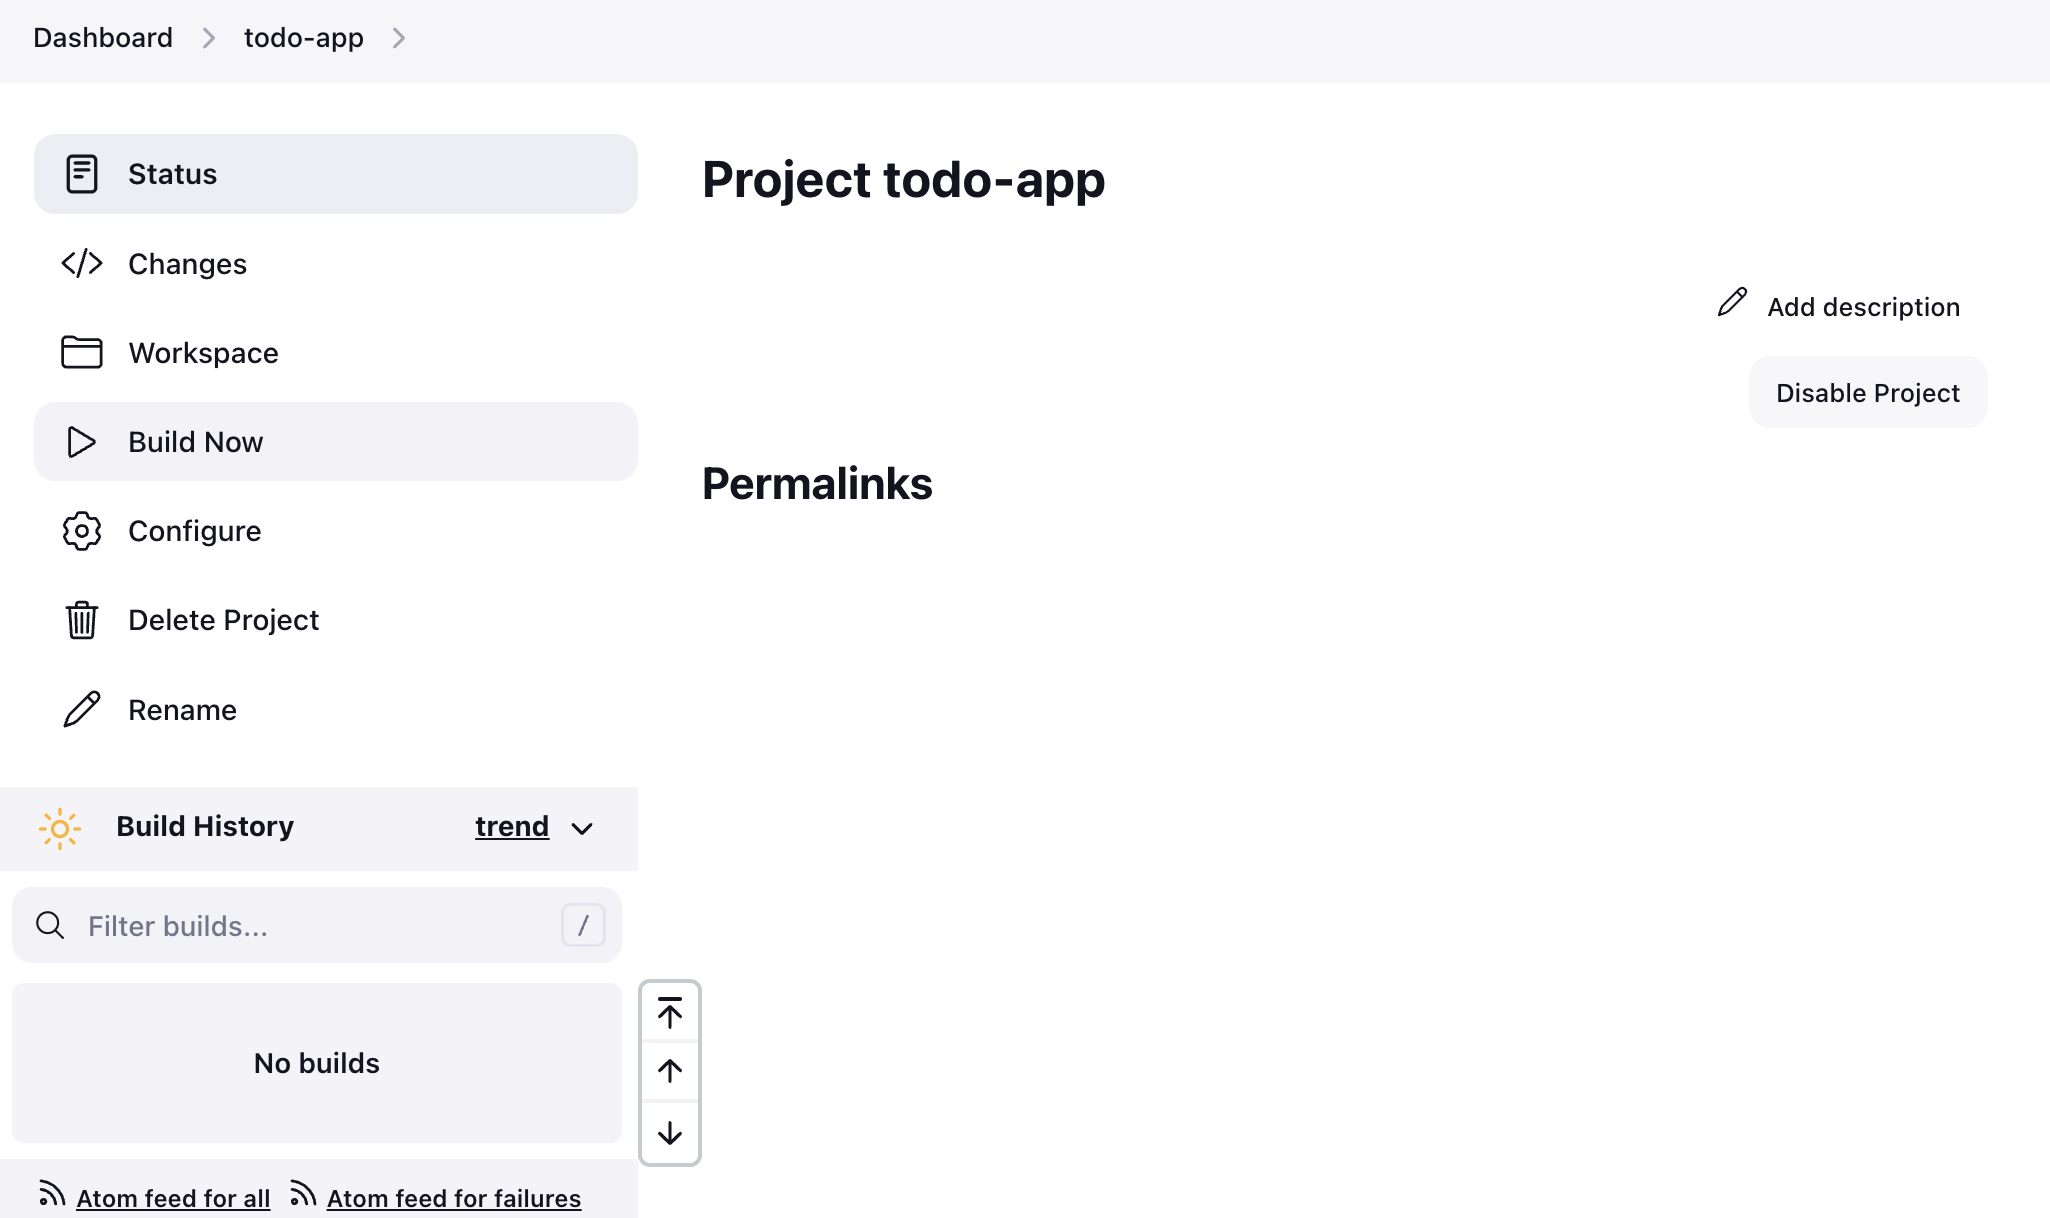
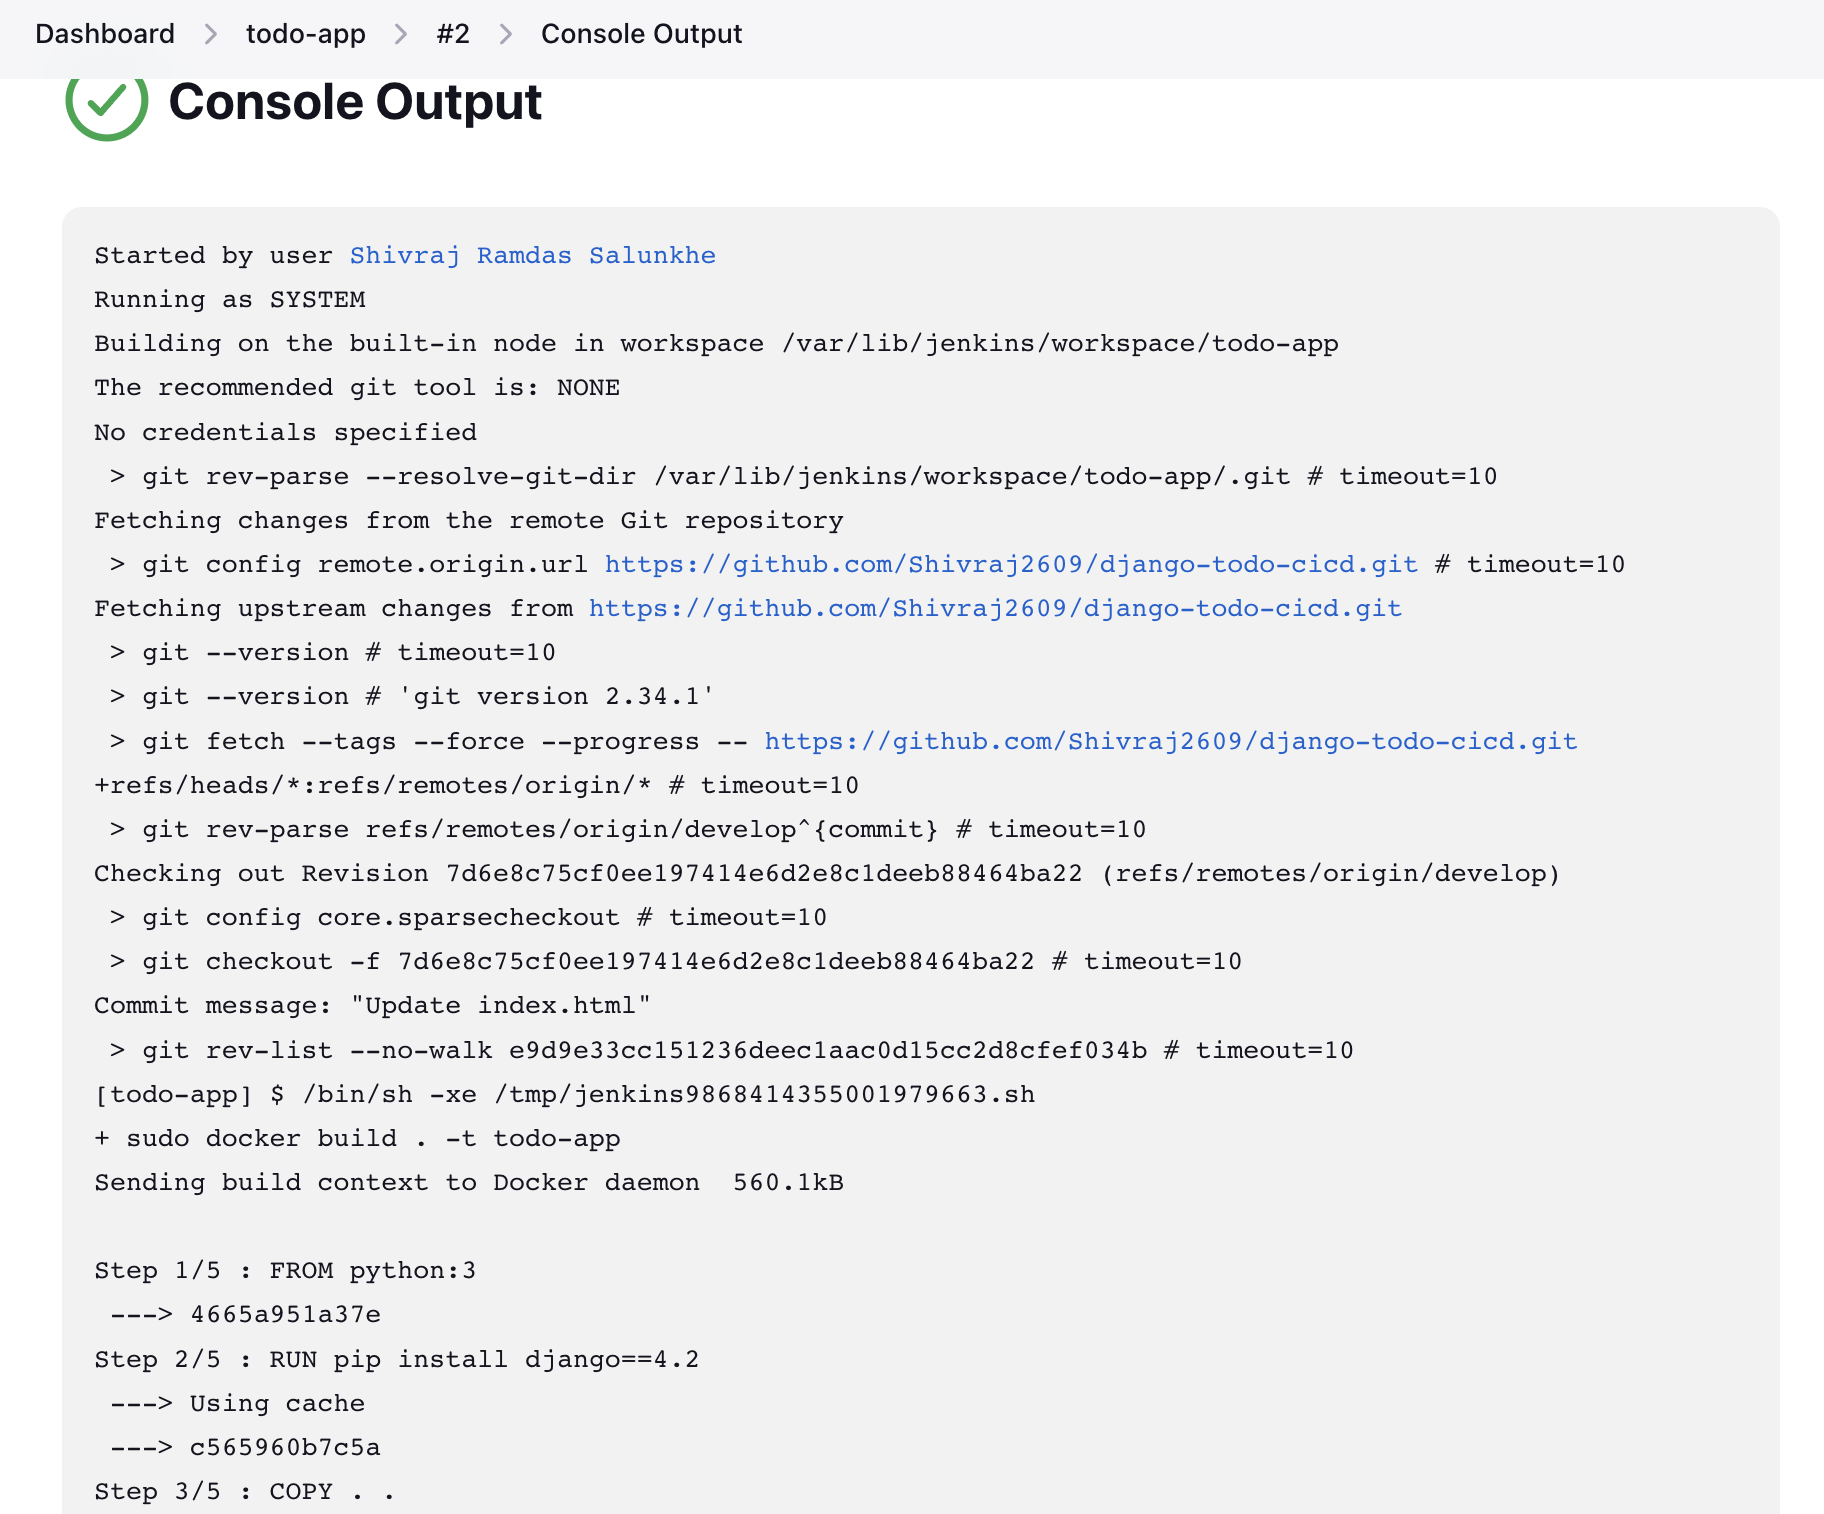
-> So We are Successfully Created the CI/CD Pipeline
you will get this type of messages in the console output menu .

Test the CI/CD Pipeline works Properly or Not.
- Performing some changes in code on Github and Check at same time on the other hand the created pipeline works properly or not.

Here, I change the Heading of the h1 tag "Todo List " to "Todo List -Modified by Shivraj Salunkhe" in above image i.e. Changes done in the Github Repository.
Checks on the other side our created Pipeline is working :) or Not working :( .
To Run this you need to Copy your AWS EC2 Instance id that is your Public IPv4 address which is present and Paste it on the web Browser along with the Port Number that we added before.
So our CI/CD Pipeline that we are created using Github and Jenkins is Properly working :) .
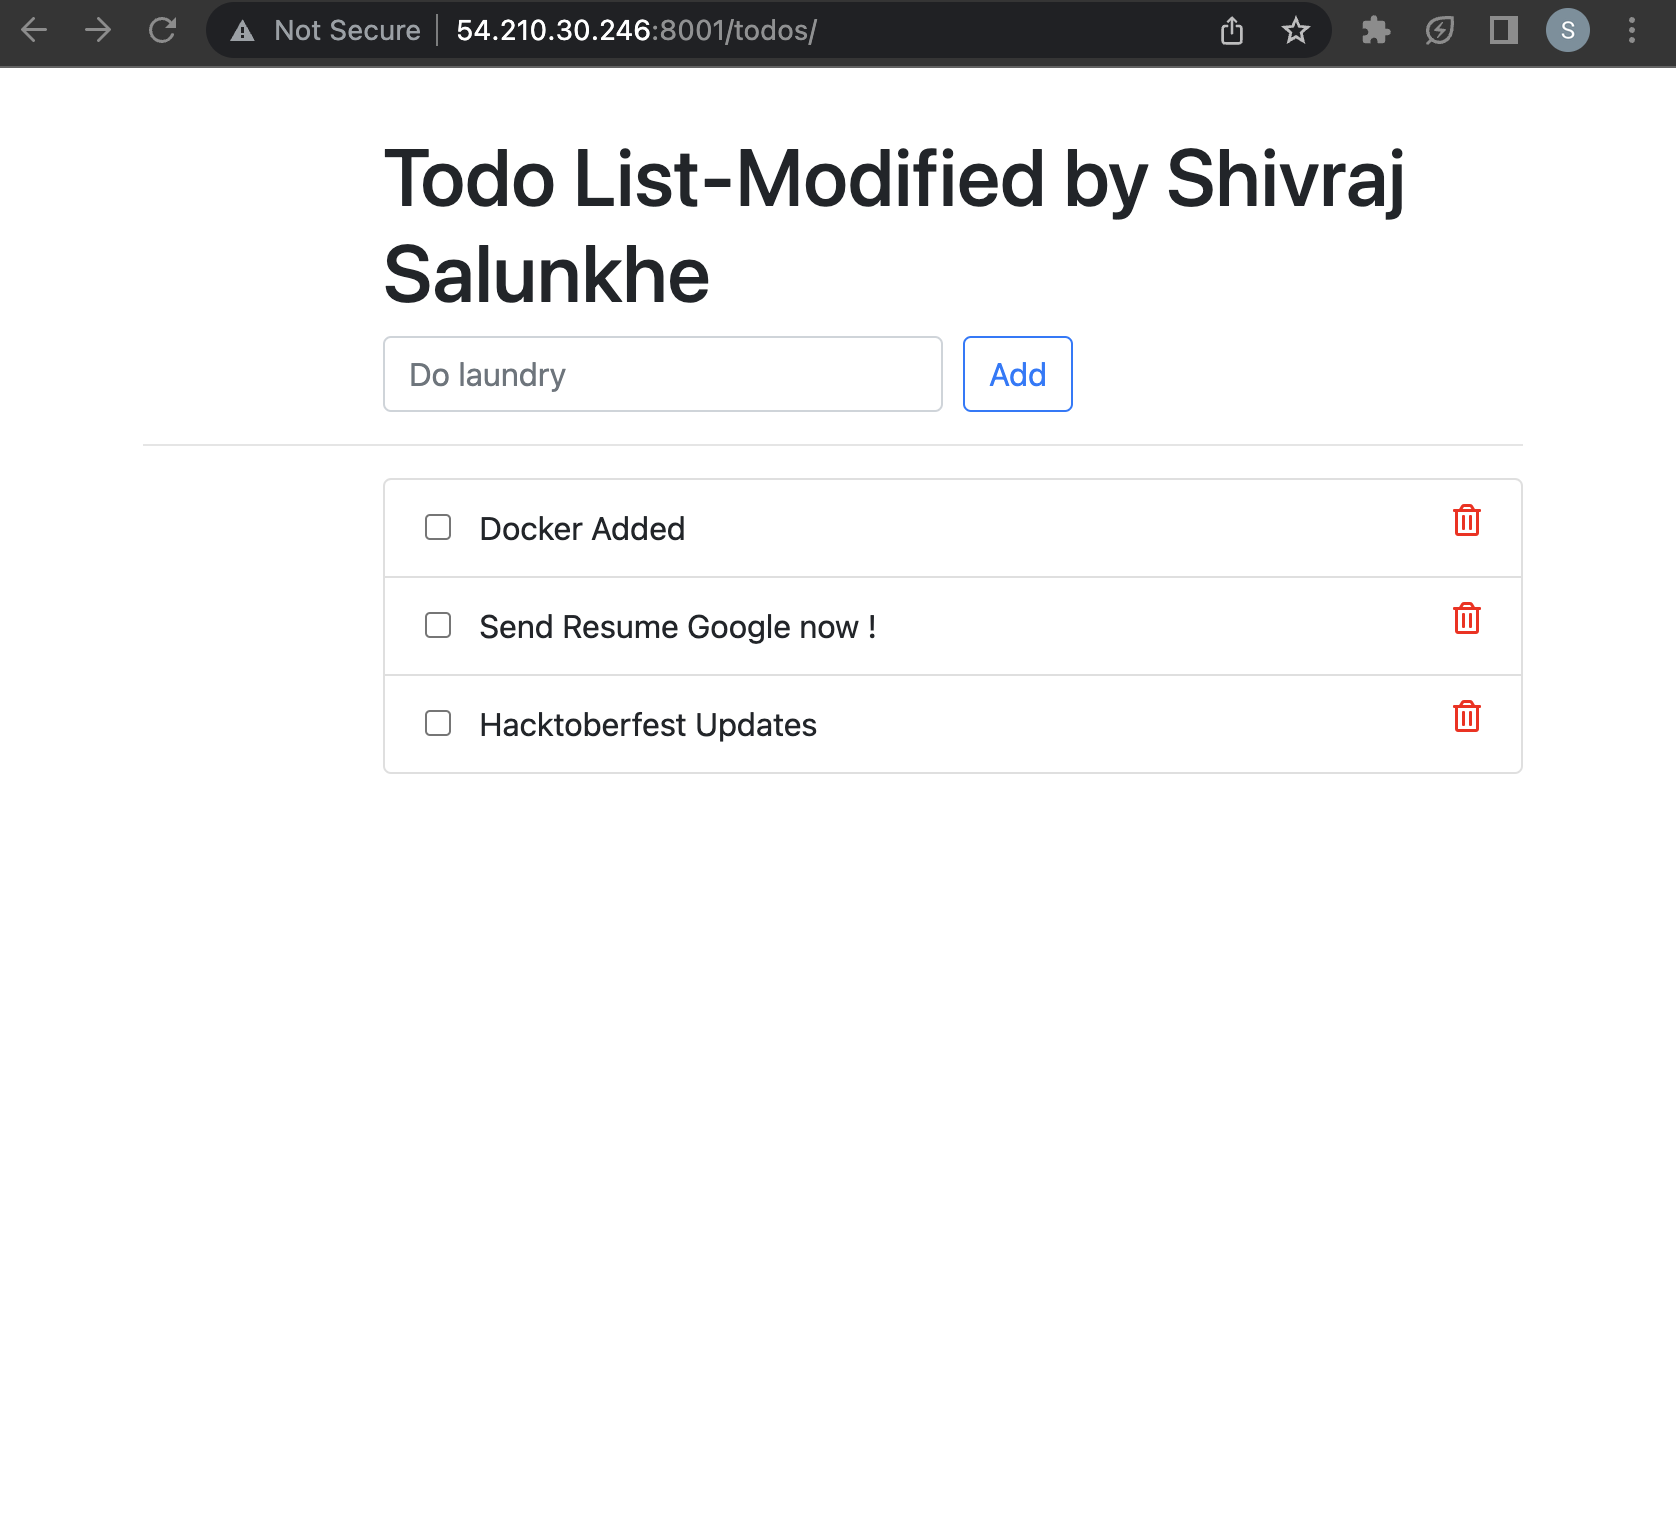
Hence, the Testing is done Successfully :)
So we are created the CI/CD Pipeline of a " Django Todo-List App " and Deploy the Project on the Respective Server's with the Help of Docker , Amazon AWS EC2 Instance and Jenkins.
.
.
Thank You for Reading My Project Blog.. 👍
Suggest... If some mistakes in the blog👍
Connect with me : linkedin.com/in/shivraj-salunkhe-5881141a4
Follow my Blog channel : shivrajofficial.hashnode.dev

